Requirements relative tools and materials:👇
- screwdriver 🪛
- Current checking ✔️ tester
- Current tape
- silk wire 1miter
- wire cutter
- 1.leaders
- Fan bolt size spanner
Remove the Existing Remove the Existing Fixture
Read more https://dreamhouse149.in/havells-bldc-no-1-ceiling-fan-2024/

Remove the Existing ceiling fan
- 1. Take Down the Old Fixture:you’re replacing an existing light fixture, carefully remove it by unscrewing it from the ceiling and disconnecting the wires.
Ceiling fan Installation step 🚶♂️
- Turn off power :> Switch off the mini circuit breaker and Isolater for the ceiling fan to ensure safety.

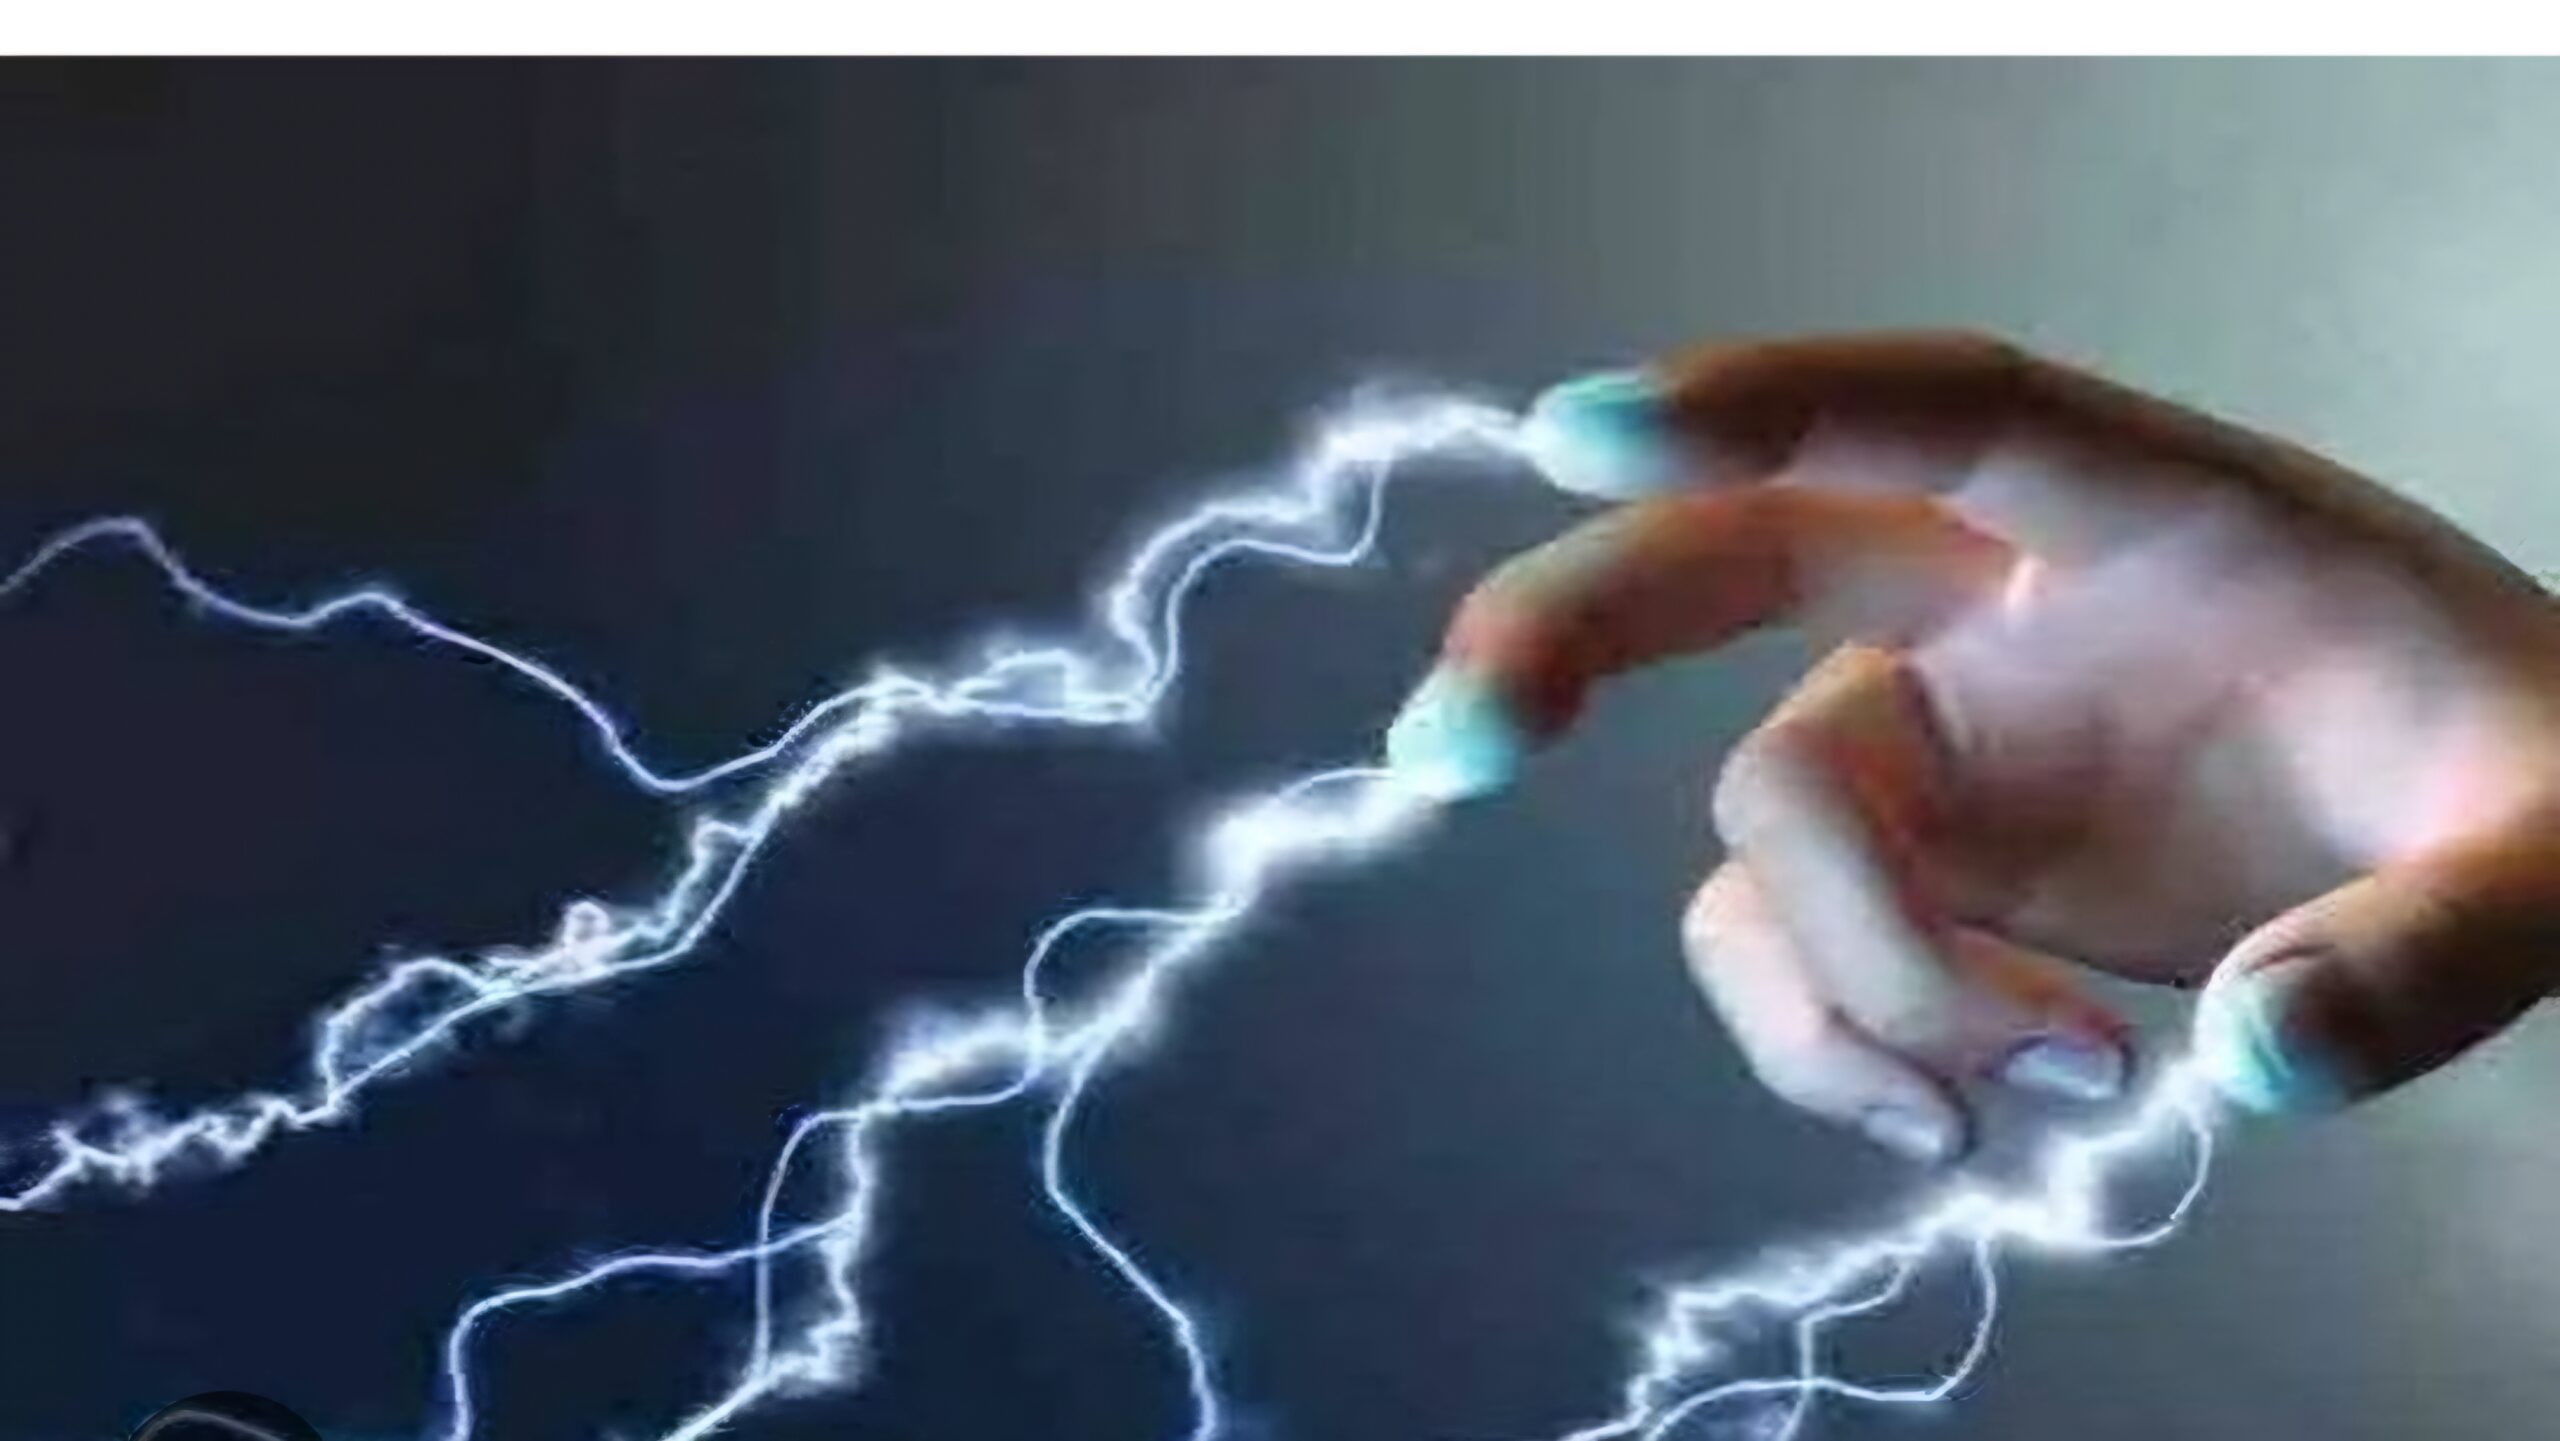
- 2. Test the Wires:>Use a voltage tester to confirm that the power is off. Check the wires in the ceiling box to be certain they are not live.

test wire with testers
- nex steps :> Ceiling fan blade box open and Attached Blades to the Fan. Ceiling fan clamps set Attaching fan rade
- Nex steps:>Look through the hole where you will be installing your ceiling fan for a wooden joist directly above the hole. If you can easily screw something into the joist,

clear fan box
Verify Stability:Ensure the bracket is stable and there’s no wobbling. This will provide a secure base for the ceiling fan.
Follow Manufacturer’s Instructions:Refer to the fan’s manual to assemble the fan parts. This typically involves attaching the fan blades and any other components before mounting.
Secure the Fan:Follow the manufacturer’s instructions for attaching the fan to the bracket. This might involve aligning it with the bracket and securing it with screws or hooks
have like u https://dreamhouse149.in/top-5-best-companies-in-plumbing-pipe/
now let’s connect the fan
Now you use leather and take the fan and move it upwards. Now if you look upper carefully, you will see two wires of two different colors red and black . According to me, they can be red or black or they can be others too, but red and black are more used in ceiling wiring.

two wire connect
Now connec ceiling both the wires from the right to both the wires of the fan, one by one and put insolation tape on the separate wire joins. Keep in mind that the joins should not meet each other otherwise there will be a short circuit.
Final Checks and Power On

on the mcb,isoleter and switch
- 1 Secure All Components:Double-check that all screws and fasteners are tight. Ensure the fan is properly balanced and all components are securely attached.
- 2. Turn On the Power:Switch the circuit breaker back on.
- 3. Test the Fan:Test the fan by turning it on and off. Check the fan’s speed settings and the light (if applicable) to ensure everything is working correctly.
- 4. Check for Wobbling:If the fan wobbles, use a balancing kit (usually included) to adjust the blades. This helps to ensure smooth and quiet operation.
Troubleshooting Tips

security first
Table of Contents
Fan Doesn’t Start:Ensure the power is on and the fan is correctly wired. Check the circuit breaker and ensure all connections are secure.
Wobbly Fan:Check that the blades are properly aligned and securely attached. Use the balancing kit to adjust if necessary.
Light Kit Issues:Make sure the light bulbs are correctly installed and the light kit is properly connected.
Did you like this information
Installing a ceiling fan can significantly enhance comfort in your home and is a manageable DIY project with the right tools and knowledge. By following these detailed steps, you can ensure a successful installation and enjoy the benefits of your new ceiling fan. Always refer to the specific instructions provided with your fan and consider consulting a professional if you encounter any difficulties.